 |
| college still life |
On
one particular trip I made into college I was met by my tutor who
placed in my hand a Bronica 6x45 camera and a roll of film in the
other. Then told me to go into the studio and make pictures of the
still life he had set up. Wow! I had wanted to try out one of these
cameras for ages, part of this enthusiasm was when I found out that
the lenses were made by Nikon. Sadly later models used seiko lenses.
This is not to say the quality is any less. At one time I was very
keen on all things Nikon.
I
placed the camera on the tripod and released the film door to load
the film. Which stopped me in my tracks. “How the hell do you make
this work” I was expecting it to load the same way as other 120
format cameras that I had used. A short time later the tutor came in
to see how thing were going. As he approached he smiled and said “It
does not matter how many students I give this camera to you are all
stumped by the film loading”. He took the film back and reversed
the backing paper over the pressure plate round and onto the other
reel. It was that simple.
For
those who are not familiar with the way you load film into the
Bronica here are a few pictures to point the way.
Film
backs can be loaded on or off the camera body.
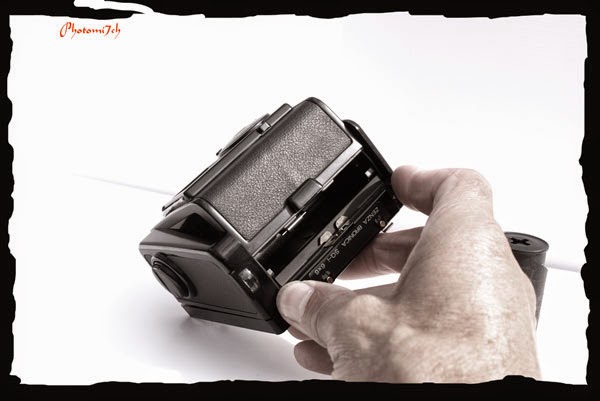 |
| To open the film back compress the two clips on the top. The door will spring open |
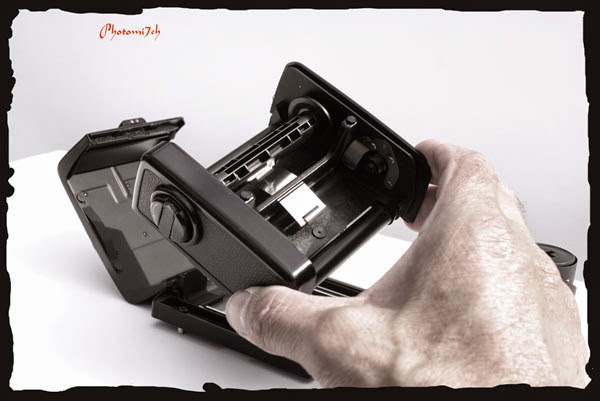 |
| Remove the film holder from the case. |
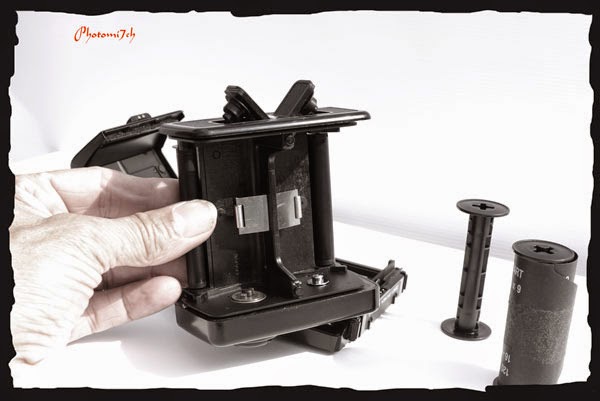 |
| Push open the film spool holders. |
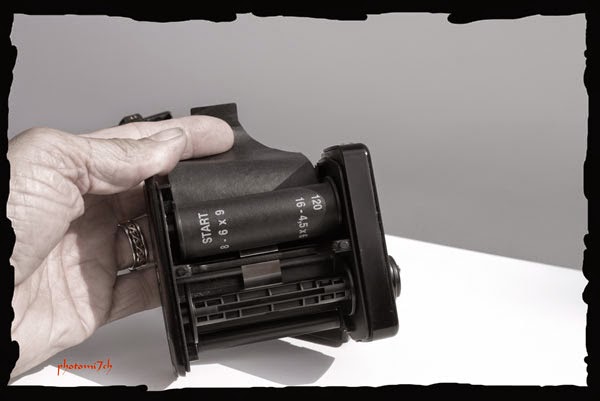 |
| Place the empty spool in the lower holder this is the one with the winder on the side. With the fresh film in the top as shown pull the paper backing over the top. |
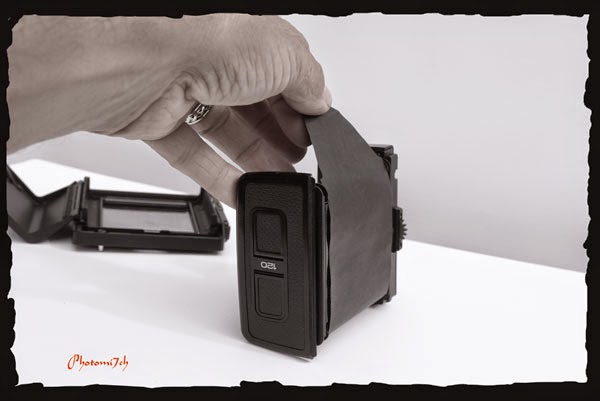 |
| Pull the paper backing all the way up and over the top |
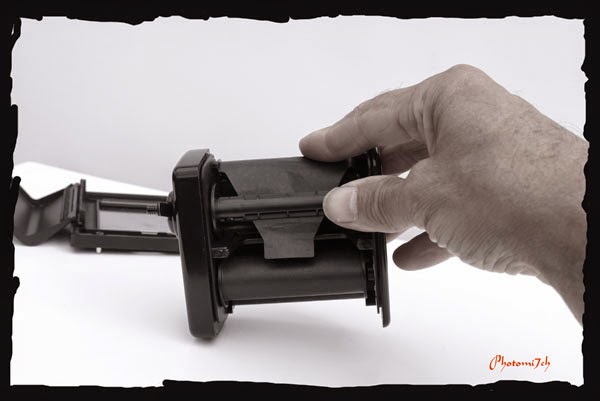 |
| Thread the paper backing into the empty spool as shown |
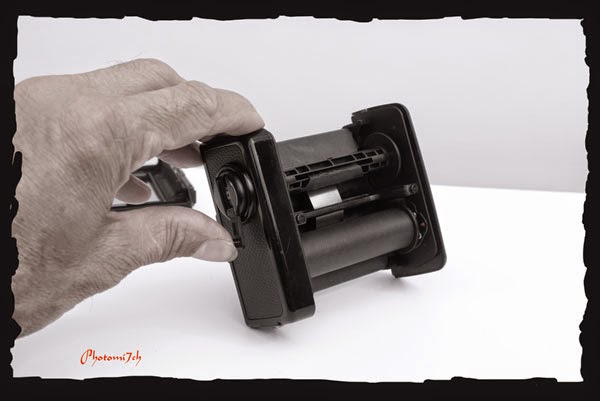 |
| Using the winder on the side of the film holder wind the paper on |
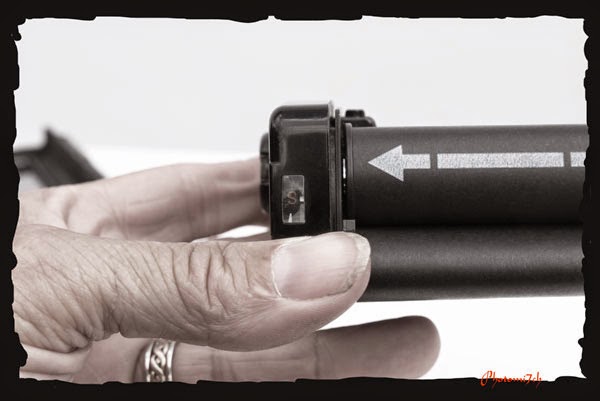 |
| Keep winding the paper backing until the arrow shows and stop |
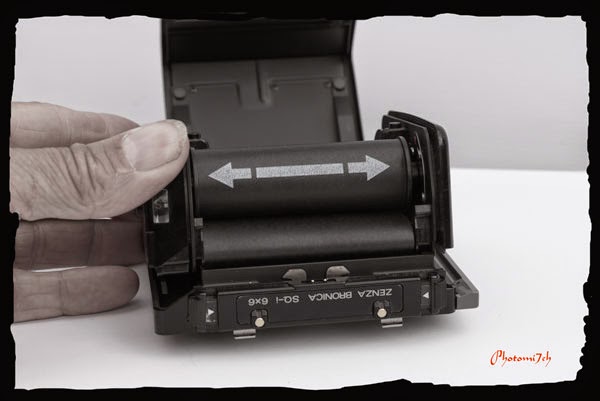 |
| Place the film holder back in its casing and close. |
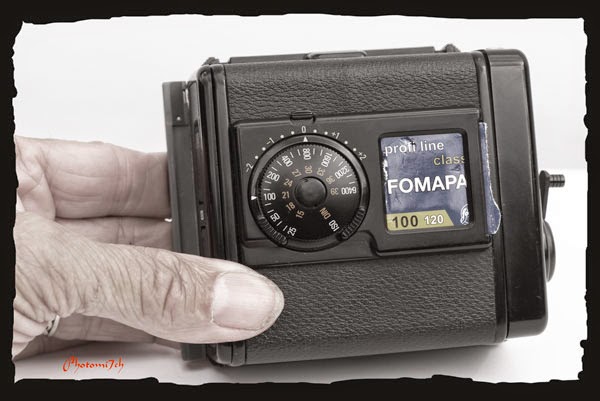 |
| Do not forget to set the ISO. If you use a number of different film tear off the top of the film box and slide it in to the window. |


