When I order new materials for the darkroom I always add something I have not tried before. It can be anything but this time it just so happens it was a box of Ilfords new cooltone FB paper. I was interested to know what their definition of cool was. In my mind it means rich blacks and blueish tones in a very subtle way.

It has taken I bit of time to choose a set of negatives that would give this paper a good workout. Sometime ago I was fortunate to visit the thirty meter high Clydesdale horses heads known as the Kelpies at Falkirk. They are a wondrous sight to see glistening in the landscape. Even more so on the bright cloudless day I visited. Their stainless steel 'coats' sparkled in the sun as you walk round them, making it difficult to look at them without sun glasses. Trying to make photographs that are different is impossible as hundreds of people walk and stand around them taking pictures from every possible angle. It's a snappers paradise! But then every ones experience of these equine giants is different and so are the pictures made.

I used my Bronica 120 6x6 camera to make the pictures I had in mind. Which turned out to be about a dozen frames across two rolls of film. I am not prolific at the best of times but even I was surprised by how few images I had captured.
Armed with two pages of negatives I picked three frames to try this paper out on. I would start by developing the first picture in Ilfords own multigrade print developer this would be the standard to judge the others against. I will also be using my favourite cooltone developer as well.
It is not until you have the photograph in the day light that you can see what the tint of the paper is. It has a very bright white tint to the paper, making the blacks very crisp, but it still has a very subtle warmth to it when compared to Moersch 6 blue tone developer. I know I favour the cold working developer but I also like Ilford rendition of the horses nose, they each have there own character.

Overall I am very pleased with the way the images have turned out. This paper appears to have a grade more contrast, I think this is due to the very white base colour of the paper compared to the neutral tone paper I am used to. It works well with my favourite blue tone developer. I will have to see if the blue is richer with this paper than others.
Technical data:
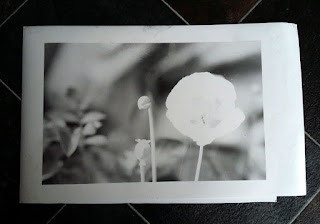
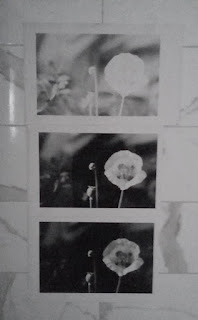
Top photograph of the horses head developed in Ilford multigade.
The next one in Moersch 6 blue.