Pages

Saturday 10 December 2016

What can Contact prints tell you.

I have written on this subject before outlining the advantages of making a contact print for your negatives. The subject has come to the fore because a recent example shows that the negatives are poorly exposed and possibly have a higher than normal amount of contrast.


 So where to start? With the sheet of negatives. The first thing you notice about them is that they are well developed with good tone and detail but on the dense side, meaning they could be over exposed / developed. Something that can sometimes be difficult to judge from the neg's only.
 
The contact print is saying that the negatives are well and truly over exposed and or over developed meaning that to get a balanced image is going to require a longer than normal exposure. It is also suggesting that the images are hard (a lot of contrast) How much will not become apparent until the segmented test print has been produced.


My normal exposure set up for the enlarger is F8 at grade 3 this is my datum point to which I judge how well I have exposed and developed the film. The first test print confirms that the negatives are very over exposed, requiring a second test because the results are so weak. I must admit that I was a bit blasé with my pinhole camera exposure times. This camera tends to bring the worst out in me when it comes to proper control but then it is all part of the fun.


I have already compensated for the longer exposure time by opening up the enlarging lens to F5.6 doubling the amount of light I would usually need. I also know that the contrast is higher than normal from a previous set of exposed photographs. It is to do with the Studional I used to develop the negatives in. A previous session showed that the softer grade 2 would give better results.


Without the contact print I would have spent much longer in the darkroom making test prints to find what the base exposure should be, if I had not been pre warned. It also indicated that the completely white looking skies would require a lot of burning in to bring the detail out shown on the negatives.


For me making a contact print ensures that I get the most out of my printing session. It allows me to preplan what I need to do to get the best out of each negative without wasting a lot paper and time. The later for me is always in short supply.
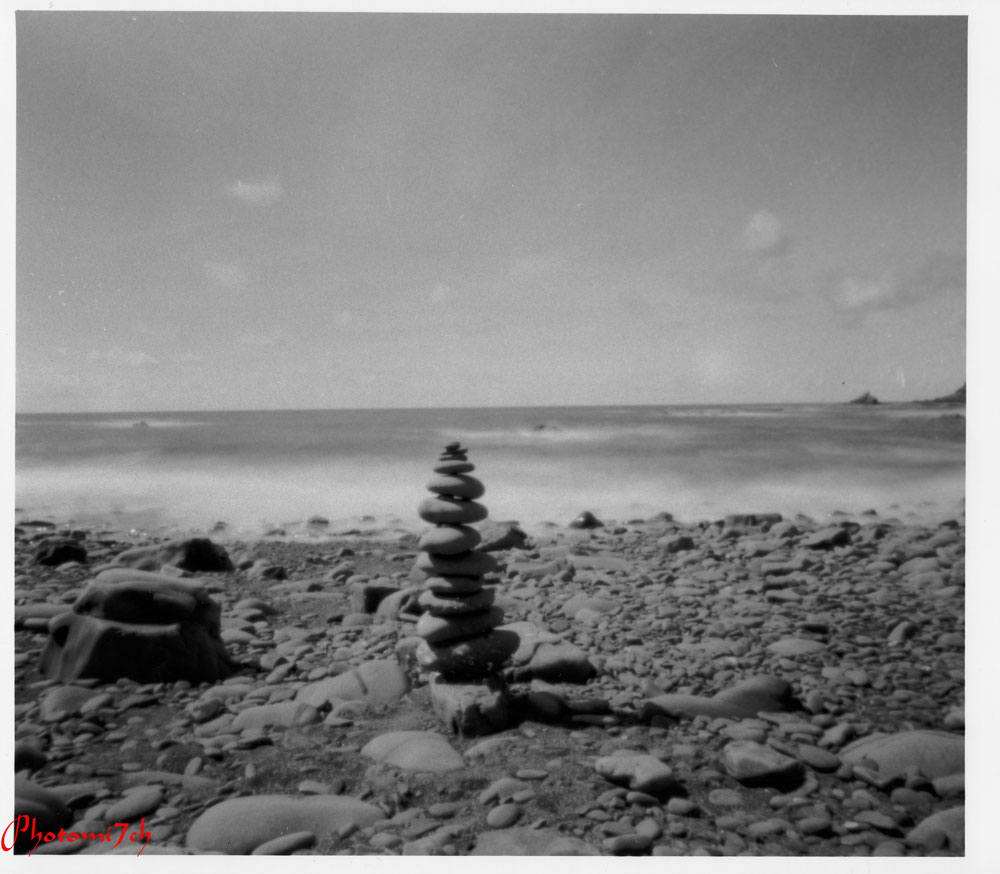

Technical data:

Zero pinhole multi format 120, tripod used, Film Fomapan 100, ISO 100, Developed in Studional, Printed on Ilford multigrade gloss RC 8 x 10, Developed in Tetenal Eukobrom 
AC.


Unintended double exposure.


Saturday 3 December 2016

Freestyle printing session


I don't know about you but sometimes I find the constraint of having to make a segmented test print to determine the right exposure for each negative tiresome. I sometimes feel that it interferes with the creative process. On these occasion in the darkroom I put myself to the test with what I call free printing. I can see some of you shaking your heads at such a notion. It is a way of pushing your instincts creatively. 

Let me lay out the rules of this creative freedom. I pick a random sleeve of negatives, run my eye over them to see what catches my attention. Load that negative into the enlarger and then make a half sheet test strip at five second intervals. This will be the only test strip of the session providing the starting point for each subsequent negative I opt to print. I give myself two attempts at getting the exposure right using my experience and knowledge (best guess) to refine it with dodging and burning. This is where your print technique is put to the test and your ability to choose negatives of the same density.
First print.
 

Into the darkroom. I have chosen a set of 35mm negatives that have a selection of landscapes I made while I was in the lake district and the one that took my eye was looking across the lake into the sun. As gooder place as any to start the printing session.


After adjustments

With this negative loaded I set up the enlarger as follows: the lens to F8 and the paper grade to three. These are the most common settings I use when printing. The paper used is silverproof matt. With the test strip made I look carefully at it to work out the overall exposure and how much more light may or may not be needed for a balanced print. 


The mountain into the sun image is the one I made the test strip for. Even so it proved difficult to get right. I chose to print overall at 32 seconds adding an extra 15 secs for the sky. This did not allow for the mountain slops on the left of the picture which needed less light to stop them completely blocking out. The burning in of the sky did not take into account the brighter area to the center right leaving it a bit blown out. So for the second print the mountain slops to the left were held back for -7 secs and the off center sky received a further +15 secs.

Before adjustments

After adjustments


The second negative chosen was the fence post into the sun. I already knew that overall this would require less light to print, the trick here would be by how much, after a bit of consideration I opted for 27 secs. Which worked well but I felt it needed even less. Overall the second print was exposed for 24.5 secs with an added 5 secs for the sky. Not much of a change, but the affect on the foreground was positive.


Before

After

Right first time no adjustments


The third negative is of the dog in the lake. I chose 25 seconds for this because the negative looked a bit dark indicating some over exposure. I was too bold with my exposure time as the print is a bit washed out with no sky. So I up it to 28 secs and added +28 for the sky. In cases where the sky is whited out I double the amount of light when burning in. Overall a much better picture.


The final image looking through the trees is a straight print, the overall time is 27 seconds. I'm happy with the print, yes I could adjust a couple of bits, but they would not add much to the overall look.

Free flow printing sessions are not always successful but it does free my mind especially if I'm having a bad time getting a picture the way I want it.