 Carrying
on from a previous post on the Agfa Isolette The
opportunity to use the camera was provided by a break in the weather
- it cleared enough not to be soaked as soon as you leave the house.
The
flip out film holder makes it easy to load a new roll of film. There
are in built springs that provide friction, so the film is kept tort,
keeping it as flat as possible at the focal plane reducing
distortion. The film back clicks shut with a reassuring clunk. It
also has a little red window in the back with a sliding cover in
which to view the film numbers as you wind on. The film is advanced
with a knob on the top right hand side of the camera that has a built
in reminder to wind on after each exposure otherwise the shutter will
not set.
 To
reveal the lens you press a button on the top left hand side. In this
case the lens followed by the bellows leaps forward from the front of
the camera with an enthusiasm that can knock it out of your hands if
you are not prepared for such athleticism. Once the front is open you
are presented with the five main controls: lens focus, a full set of
apertures from F4.5 all the way up to F32. A limited number of
shutter speeds: B, 25th, 50th, 100th
and 200th A self timer and most importantly a lever that
primes the shutter for release. The only other thing present is a
connection for flash.
 On
the top of the camera is the shutter release that allows a remote
cable to be fitted, a cold shoe for a range finder or other
accessories and another knob that has four settings marked Col NK,
NT, K and T. (I do not have a clue as to what they represent.) As far
as I can tell it has had no affect on my negatives. It has a viewer
and a tripod mount.
After
I got used to the idea of guessing what the distance should be set to
and then remembering to alter it for different views, I found myself
taking shots quickly almost like an automatic. I did take light
readings to start with but it became clear that the light levels were
stable enough not to need checking for each shot.
 It
became clear that there was a problem once the negatives had been
developed. Some how light was getting into the camera. Having checked
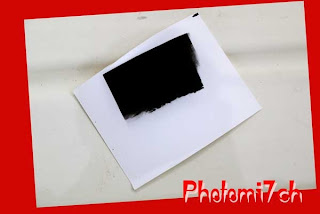
it carefully before hand I should have carried on and cut a piece of
light sensitive paper to fit the camera and left it for a minute to
make sure. Once the paper had been developed in the normal way it
would have shown that light was leaking in from the bottom right
corner of the exposure chamber indicating a problem with the bellows.
I'm
a little disappointed with myself for not doing this check in the
first place. If I had followed through with the test, I wouldn't
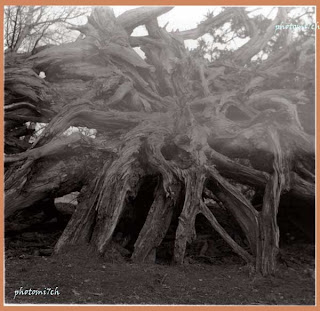
have had a duff set of negs'!. It would have made an interesting set
of prints as the gremlin's face in the tree roots shows.
No comments:
Post a Comment