Pages

Showing posts with label examples. Show all posts

Wednesday 20 September 2023

Increasing depth of field (DOF)

Hyperfocal distance is not something that trips off the tongue in this modern age of auto focus. In fact digital camera lenses do not have the facility to take advantage of this compositional tool. You just have to compare today’s lens with yesterdays they don't have aperture settings and therefore you can not play with hyperfocal distance settings.


So what is Hyperfocal distance?

When a lens is set to infinity, the depth of field (D.O.F) closest to the camera is known as the Hyperfocal distance for that aperture. If you have an older lens its barrel will be marked with these distances.


How to change the Hyperfocal distance.


Set the lens focus to infinity, and then read the lower mark for whatever aperture you have set. If you then refocus the lens to the lower mark known as the optimum distance you will increase your depth of field by fifty per cent of the optimum.


For example:


This was made using a
 telephoto lens at close distance.
 The use of hyperfocal distance has
 pulled the area of sharp focus
to the front of the ball.
I have used an old 50mm Nikon lens (pictured) to show how it works. I have set the focus to infinity and the aperture to F16. The good thing about this lens is that it shows the upper and lower limits of each aperture with lines on the lens barrel. Looking to the right (marked A) you can see that the last line on the lens barrel is opposite the five meter mark (about fifteen feet). By resetting the focus to optimum in this case five (A). Then look at the lower limit (marked B) for F16, it is about two and a half meters (eight and half feet). The resetting will extend the overall sharpness of the picture by an extra two and a half meters which is 50 percent of the optimum.

The longer the lens the greater the increase is. For argument, an 80 mm lens with an aperture of F22 set, would have a depth of field from 2.8 meters all the way to infinity when optimum focus is used. Instead of 5.6 meters to infinity.


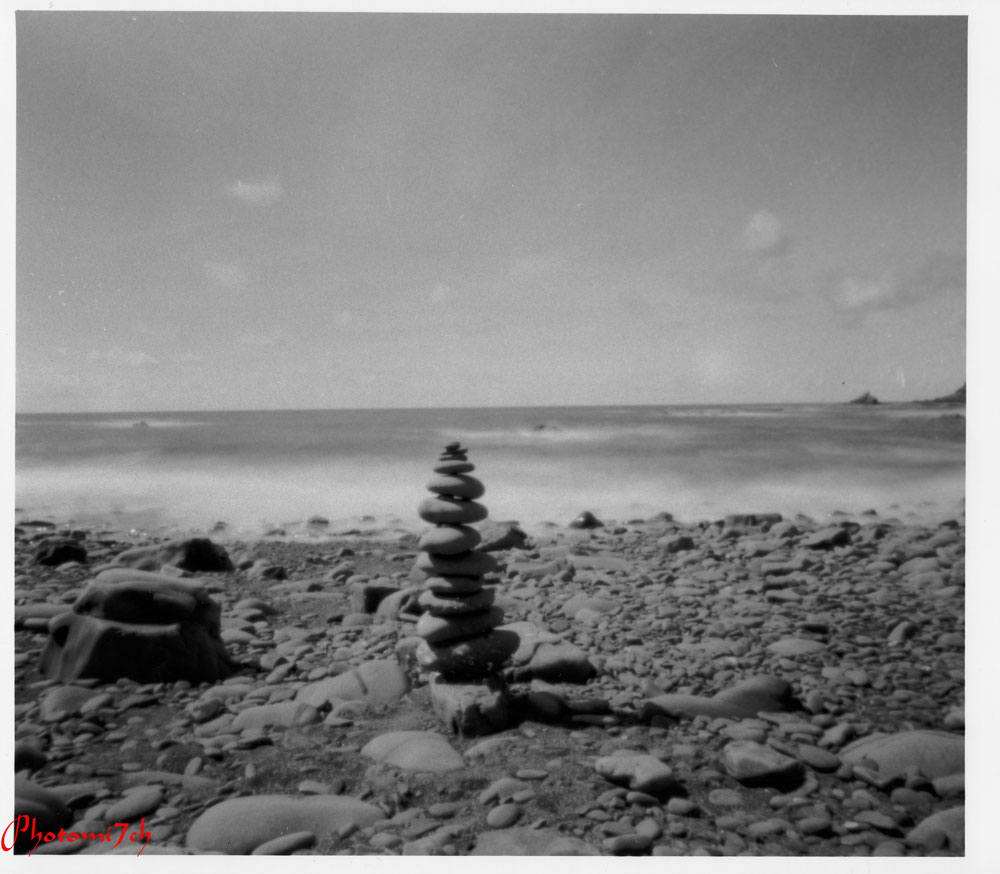
If  hyperfocal distance had been
used with this picture the
 front post would be sharp.
 
In some cases where you do not have aperture lines on the barrel of the lens some cameras and lenses have a shut down button. This allows you to see before you press the shutter where the hyperfocal distance ends. So you can adjust it if needs be.

Being able to increase the depth of field (D.O.F) can be very useful when using medium and long telephoto lenses for subjects close to the lens, allowing narrow fields of sharpness to be moved. This makes sure the front of the item is in focus.


Saturday 10 December 2016

What can Contact prints tell you.

I have written on this subject before outlining the advantages of making a contact print for your negatives. The subject has come to the fore because a recent example shows that the negatives are poorly exposed and possibly have a higher than normal amount of contrast.


 So where to start? With the sheet of negatives. The first thing you notice about them is that they are well developed with good tone and detail but on the dense side, meaning they could be over exposed / developed. Something that can sometimes be difficult to judge from the neg's only.
 
The contact print is saying that the negatives are well and truly over exposed and or over developed meaning that to get a balanced image is going to require a longer than normal exposure. It is also suggesting that the images are hard (a lot of contrast) How much will not become apparent until the segmented test print has been produced.


My normal exposure set up for the enlarger is F8 at grade 3 this is my datum point to which I judge how well I have exposed and developed the film. The first test print confirms that the negatives are very over exposed, requiring a second test because the results are so weak. I must admit that I was a bit blasé with my pinhole camera exposure times. This camera tends to bring the worst out in me when it comes to proper control but then it is all part of the fun.


I have already compensated for the longer exposure time by opening up the enlarging lens to F5.6 doubling the amount of light I would usually need. I also know that the contrast is higher than normal from a previous set of exposed photographs. It is to do with the Studional I used to develop the negatives in. A previous session showed that the softer grade 2 would give better results.


Without the contact print I would have spent much longer in the darkroom making test prints to find what the base exposure should be, if I had not been pre warned. It also indicated that the completely white looking skies would require a lot of burning in to bring the detail out shown on the negatives.


For me making a contact print ensures that I get the most out of my printing session. It allows me to preplan what I need to do to get the best out of each negative without wasting a lot paper and time. The later for me is always in short supply.


Technical data:

Zero pinhole multi format 120, tripod used, Film Fomapan 100, ISO 100, Developed in Studional, Printed on Ilford multigrade gloss RC 8 x 10, Developed in Tetenal Eukobrom 
AC.


Unintended double exposure.


Saturday 11 January 2014

Paper flashing, Pre-flash examples.

I had not envisaged writing a second post on this subject so soon, but I thought I should have included some more examples with the first post.

Examples:

All the pictures that appear here have been printed on Kentmere VC RC at grade 0, developed in Ilford Multigrade and pre-flashed at one second increments with the enlarger light box at nearly full height and the lens shut down to F16.


Straight Grade Zero print


This picture is a straight grade zero print. When I took this picture I knew it would be a difficult scene to print.


Pre-flashed for one second

This picture has had a one second pre-flash the difference is quite subtle but you can just make out an increase in tone.


Two second flash

This picture has had a two second pre-flash and looks a bit washed out. The tonal range has increased in comparison to the last picture now making it necessary to add the grade five exposure to bring out the contrast and blacks.

Pre-flash test strip:


Exposure curve and Kentmere test strip
in second intervals


I have combined the pre-flash test strip for the Kentmere paper with the exposure curve to show how the test relates to the curve. Intervals 1 to 4 relate to the numbers on the curve.

Example two:

Grade zero print

This is also a grade zero print, when I took these shots I did not think the negatives would require pre-flashing.


Flashed for one second

This picture has had a one second pre-flash. If you compare the two carefully you can make out the subtle change in the sky which appears darker and the  additional tonal range in the details in the shadows.