|
| Zero 120 multi format pinhole camera |
I've
had my Zero 6 x 9 second edition multi format camera for years I
don't use it as much as I should this is because it comes into
conflict with my Bronica SQAi which I really love using. I enjoy
using the Zero but have found that it is spending a lot of time in my
camera bag. This shouldn't be the case as they both have completely
different characters. Since the beginning of the year I determined
that I would use my pinhole camera more. I have been true to my word
in that I have set time aside, it maybe the simplest way of making
images, it also happens to take time to set up and expose the film.
Not always conducive for the way I go about making images. The
strange thing is I need a certain frame of mind when I want to use
it.
 |
| How the different negative sizes look. |
Being
multi format I thought it was time to see how the other formats come
out. I know after all these years it will be the first time I explore
the formats ether side of my favored 6x6 negative size. So what are
the other sizes, down stream is 6 x 4.5 I had not realised until I had
moved the partitions to this position that with the camera horizontal
it produced the frames in portrait format and that if you wanted
landscape I had to stand the camera on it's side. I chose to keep it
the way it is.
Upstream
from 6x6 is 6 x 7 and 6 x 9 this will be the first time I have made
images at these negative sizes so I'm excited to see what they will
look like. Something else I did not realize was the large margin
between the frames for 6 x 7. The margin is that big I think you could
get another frame if the numbers were spaced differently on the
backing paper. I'm used to the frames on some occasions with 6x6
bleeding into each other. When it came to the 6 x 9 negs there is no
margin making it look like one image over the whole length of the
film. Requiring precise cutting when putting them into the storage
sheets.
 |
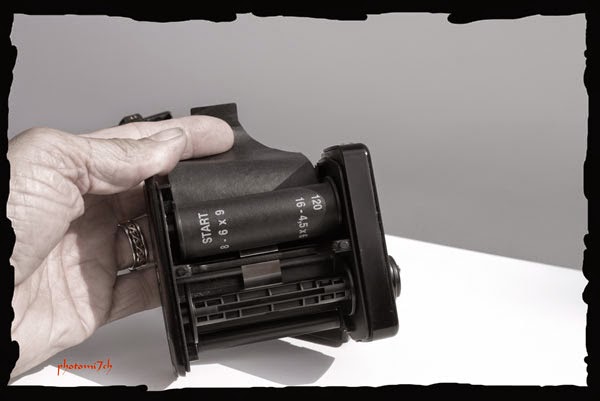
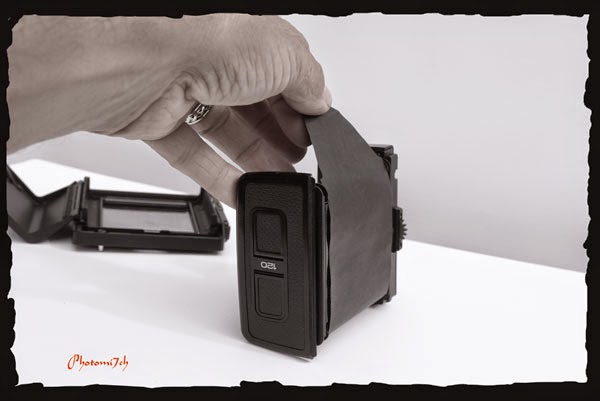
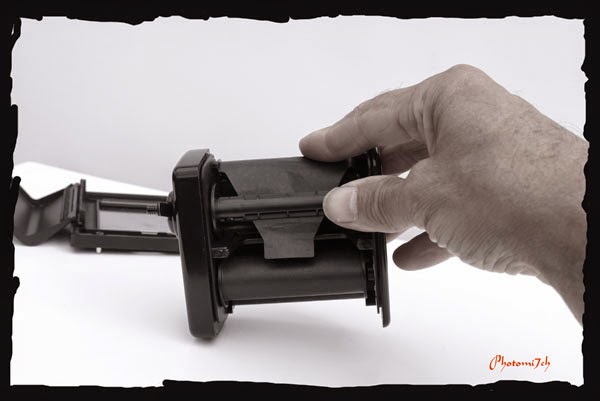
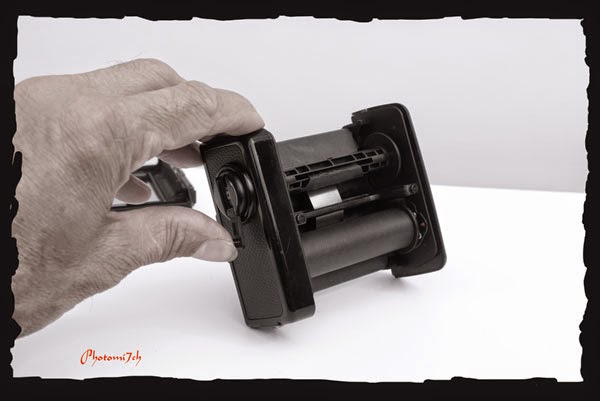
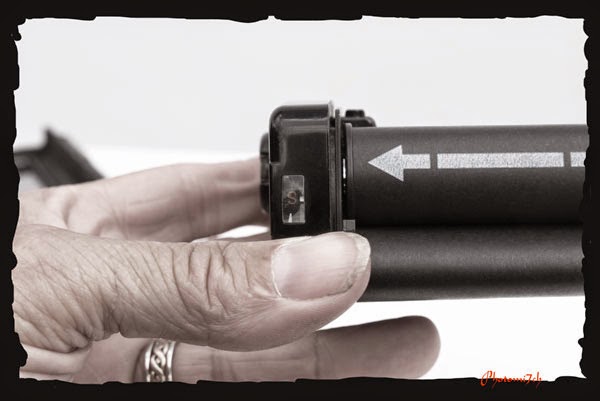
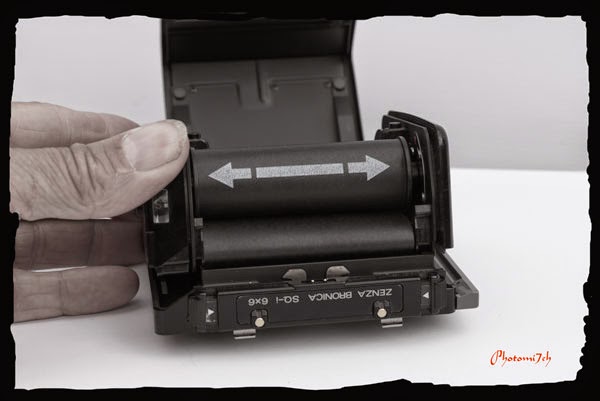
| How the different negative sizes are achieved. |
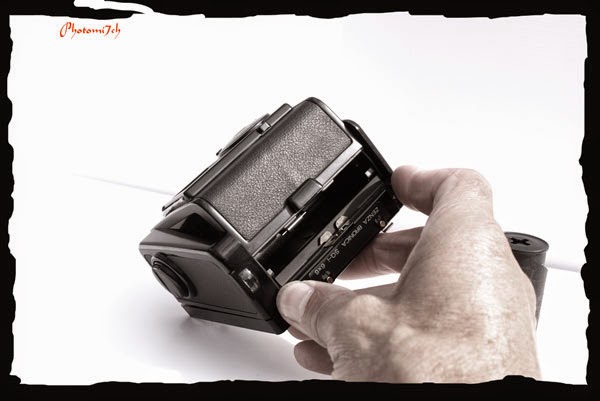
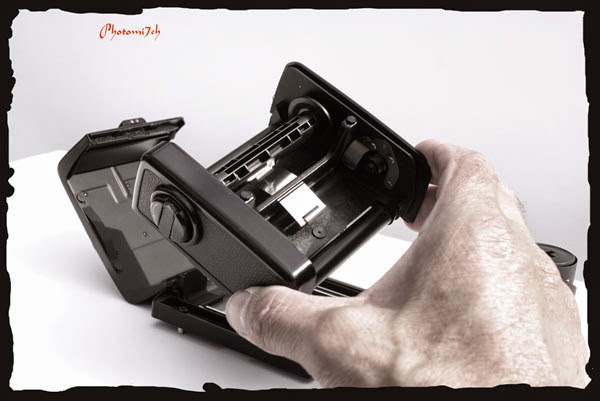
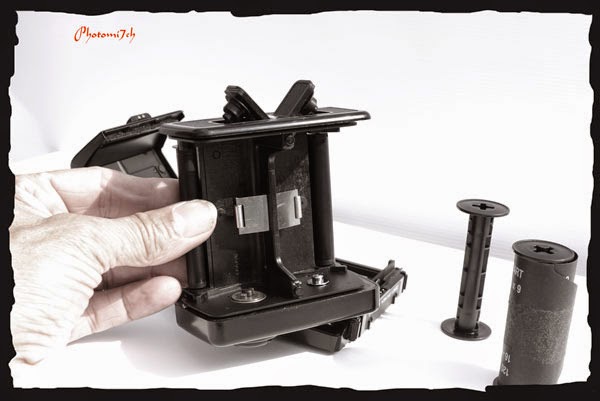
It
is simple to change the negative size with the Zero you just move the
little divides into the preset slots once done you load the film and
away you go.
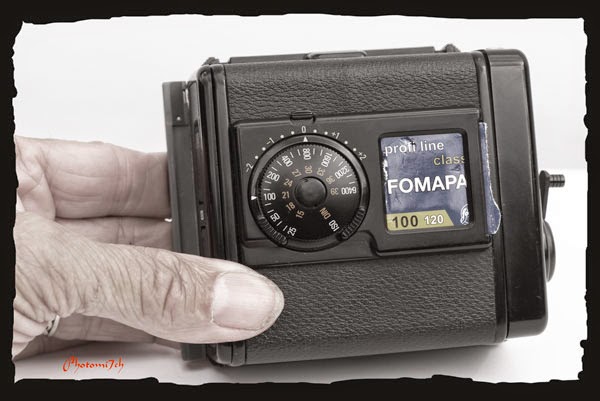
It
has taken quite a time to realize that Fomapan 100 in my case
developed in RO9 gives me a stile of image that I really like, making
it my default film, dev combination when using this camera. Although
that my change since I started using delta 100.
There is a picture post to follow showing some of the images made using the different formats. They have been posted click here.