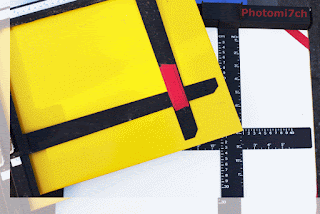
Also
called an easel they come in different sizes. It is a good idea to pick one that is larger than your
current needs therefore not limiting the proportions of your enlargements. The
main reasons for using a masking frame are to hold the paper flat, to
reconfigure the composition, allow the margins to be adjusted to the various
format sizes you wish to use and to crop out some of those bits that creep in
at edges, that you didn't see before you pressed the shutter.
 The frames
come with two or four independently adjustable blades on a yellow or white base.
I have noticed that some blades are not set at right angles to each other so it
is a good idea to check them at various settings with a set square to make sure they
are true. Also make sure that the edges of the blades are not bevelled under.
This will reflect the light and produce a thin black line around the edge of
the picture. It can be a nice affect but one you should have control over. The
light colour of the baseboard is so you can see the projected negative,
enabling you to frame the image before you put the photo paper in place.
When using
single weight papers on a white baseboard, it is possible for the light to pass
through the paper and be reflected back, changing the value of the exposure.
You can stop this by laying a dark coloured card on the baseboard with the
light sensitive paper on top.
The most versatile of the masking frames is the four blade, it allows you to mask the image by only having to move the blades of the frame without having to re-a line the whole easel each time. It also gives better control over how big or small you make the margins and in some cases gives you the ability to produce borderless prints. The versatility of these frames makes them quite expensive to purchase.

